How to create a complete blog website and host for free
In this post, we go through on how to set up a blog/portofolio website with Jekyll and host the website on Netlify for completely free. No coding required guys!
Introduction
Jekyll is a blog-aware static site generator written in Ruby which we use to build our website and we deploy our site to Netlify. Netlify is primarily used for serverless application hosting and they have a lot of add-ons like forms to hook up with our website later, free SSL certificate and DNS Server management and they also offer 100GB free traffic per month😊. Some alternative hosting options to Netlify are Azure Static Web App, Github Pages and others. In this post, I’d be covering deployment to Neltify only.
Taking off a server and using a static website has huge benefits.
- Don’t have to pay for a expensive server to host
- If there’s a need for dynamic content we can use Javascript and API’s to deliver content(JAMStack).
- Deploy our website to Content Delivery Networks(CDN) for super fast loading of pages and so on..
How to setup our website with Jekyll
Install Jekyll on Windows/Linux/Mac
Follow the installion instructions listed on Jekyll website to install Ruby languge on your desktop and install Jekyll, bundler as gems.
Initialize the project
Create a new Jekyll Site with the below command
jekyll new my-blog
cd into my-blog
cd my-blog
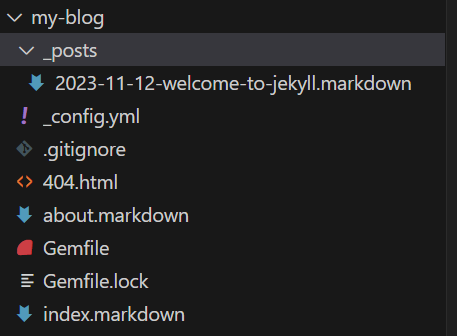
You’ll see the default files and folders that Jekyll new command created inside my-blog folder.
Jekyll new command includes a simple starter blog site using Minima theme.
To run and test the website on local server, run the below command and go to http://localhost:4000 to see it live.
bundle exec jekyll serve
If you see any Depreciation Warnings in the terminal after running bundle exec jekyll serve, Don’t worry and please ignore them as it won’t affect our website.
Also, Use Code Editor like VS Code as it makes our development flow very smooth with features like integrated Terminal and code highlighting and so on..
Use theme Minimal Mistakes
The easiest way to build our website is to use a Jekyll theme and Minimal mistakes theme has lot of documentation and customization options and I believe it fits all your blog needs. All you have to do is edit one file _config.yml to do most customizations for our website.
There are a couple ways to install the theme. But I’d recommend gem based installion as it is easy to update the theme in the future.
- To add theme as a gem add below line at the end of
Gemfile.gem "minimal-mistakes-jekyll" - To install Minimal Mistakes theme as gem and update existing gems, type below bundler command in
terminal.
bundle - Now, change the default theme from
minimatominimal-mistakes-jekyllin_config.ymlfile to set your theme to Minimal Mistakes.theme: minimal-mistakes-jekyll
Setup the theme
- Change the front matter of the home page in
index.markdownto the following--- layout: home author_profile: true --- - Change the
layout: postinYYYY-MM-DD-welcome-to-jekyll.markdowntolayout: single - Remove
about.markdown
Now, run the website with bundle exec jekyll serve and go to http://localhost:4000 to check the changes.
Press Ctrl + C to stop local server.
Customize the website
Customize the website following the docs of theme especially visiting Configuration, working with posts and pages first.
Deploy site to Netlify.
The best way to deploy is to connect Netlify to GitHub Repository instead of manually uploading site files to Netlify.
Create a git repository and push to GitHub
- Initialize the git repository
git init - Stage the current directory files to commit
git add . - Make your first commit in your local repository
git commit -m "Initial commit" - Now, Create a empty github repository. Go to Github, click on
+icon and create a new repository, give a repository name, For ex.,my-blogand click onCreate repository - Add the URL of the remote github repository to your local repository.
git remote add origin your_git_repository_URL - Push your local local repository code to Github.
git push -u origin master
Connect Github and Netlify
- Go to Netlify and sign up for an account. Create a new team with a name. Now, click on
Import an existing projectunderAdd new site.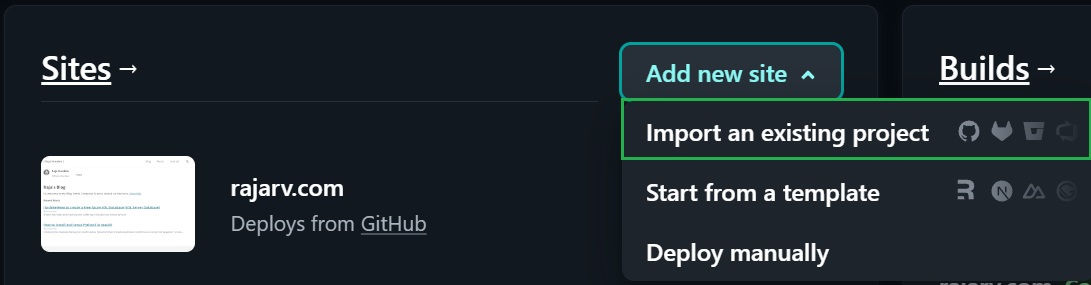
-
Now select,
Deploy with Githuband Authroize Netlify on next screen to connect to Github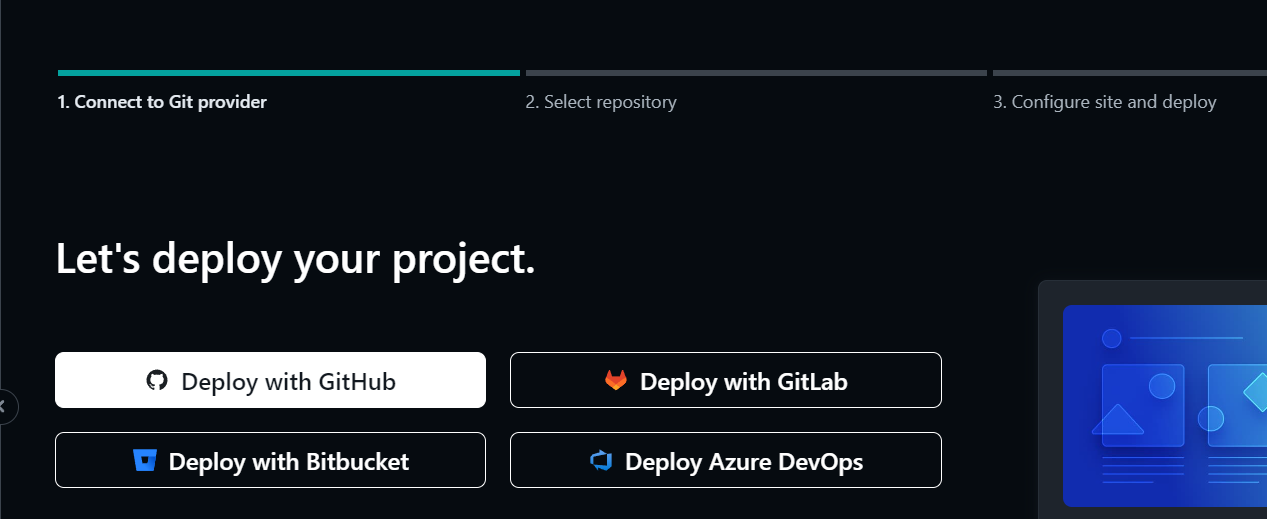
-
Search for your repository.If your repository won’t show up when you search, press
Configure Netlify On Github.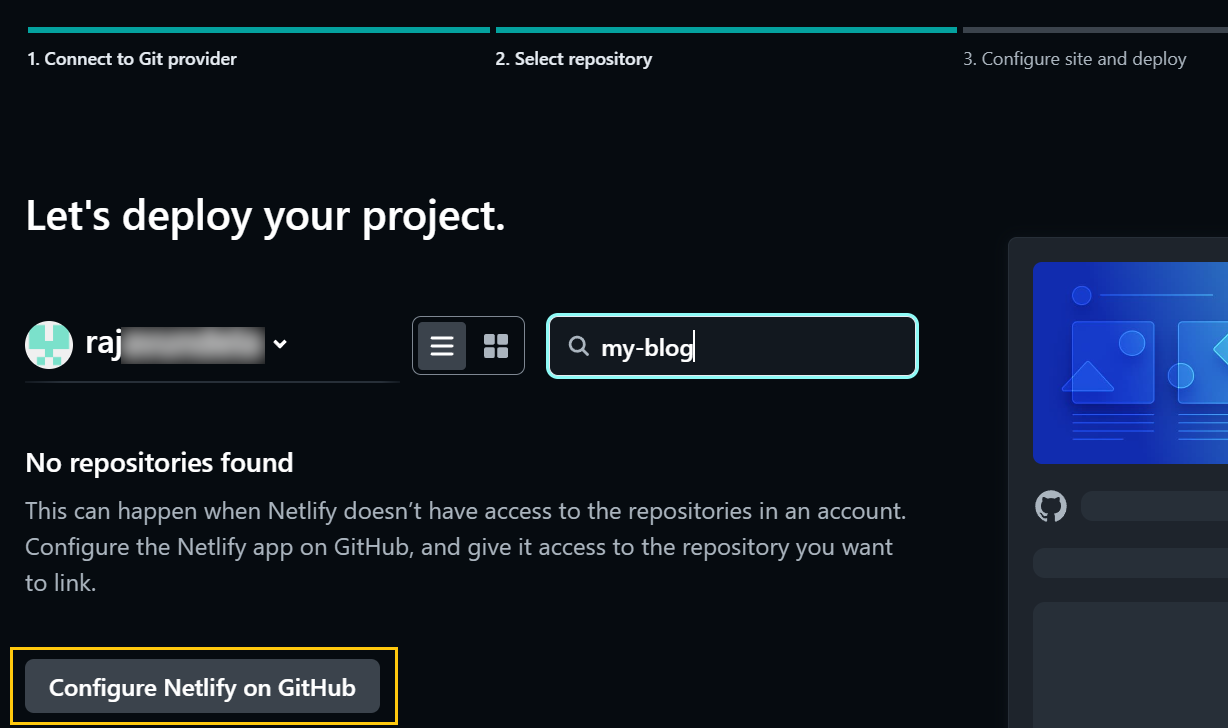
-
Scroll down on the pop-up window and add your specific repository from the dropdown or give access to all repositories and press
save.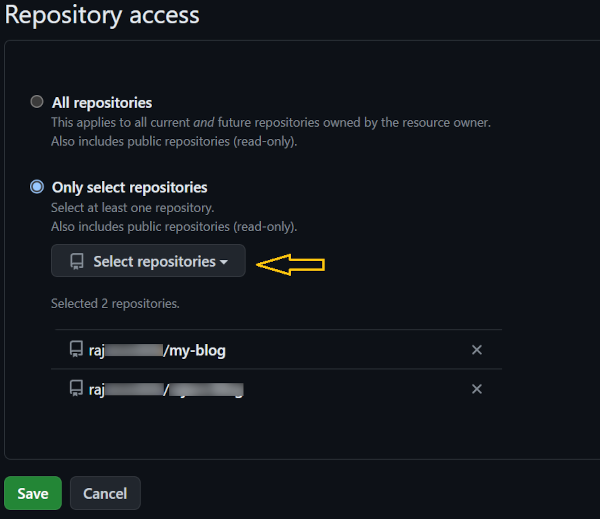
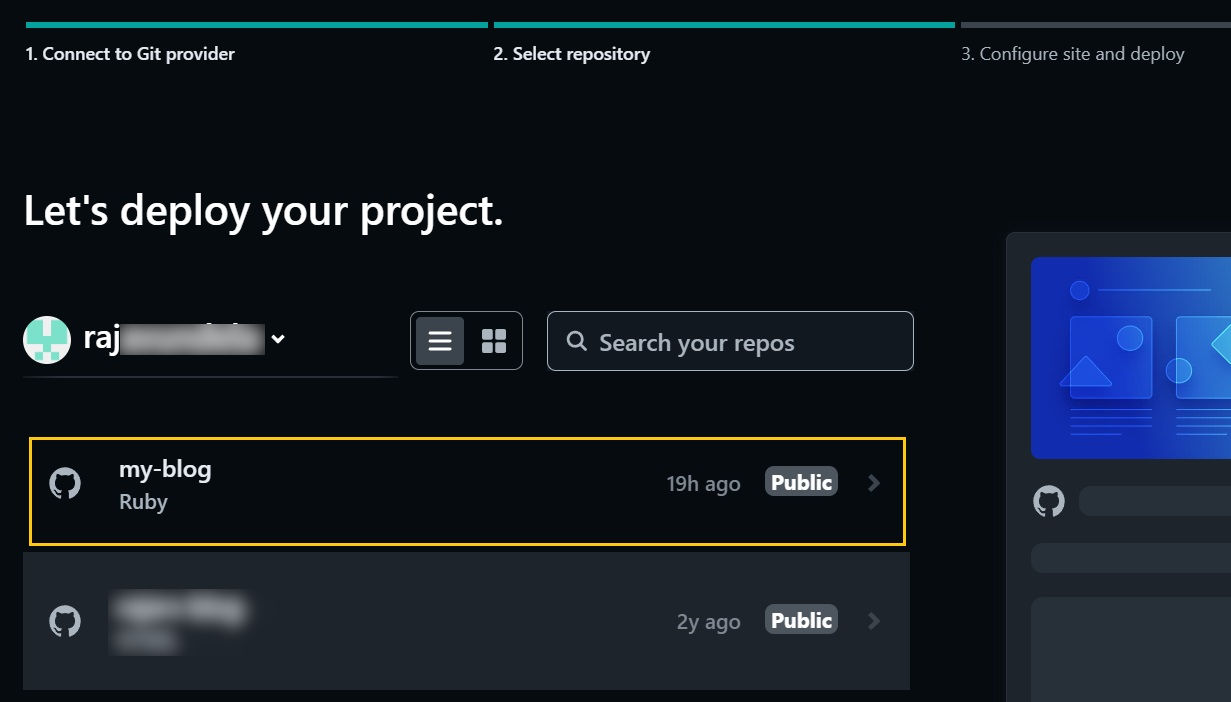
-
Now, you see your repository. Select it.
-
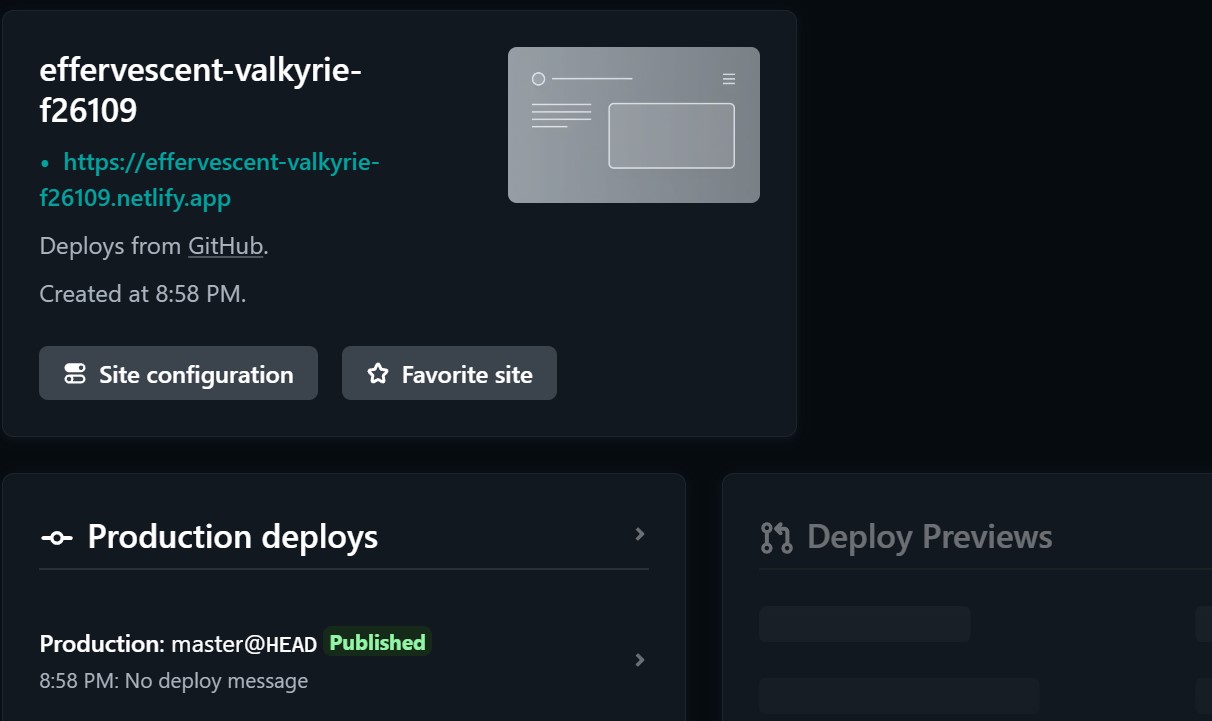
On the next page, we configure deployment settings for the website. The default options populated by Netlify are sufficient. Now, hit on that deploy button.
- Our website is deployed to netlify sub-domain. Now, Setup a custom domain with Https.
Everytime you make changes on your website, like adding a new post or configuring a setting. Commit your changes and push to github(see below commands).
git add .
git commit -m "your-commit-message"
git push
For some reason, the changes to _config.yml won’t load automatically when using Minimal Mistakes and you have to stop and start local server to check your changes locally on the website.
Netlify will automatically deploy your new changes whenever there’s a change in Github repository.
Hope you enjoyed this post. If you have any comments/suggestions on this post or need help type them below, I’ll reply to every single one of them.
Comments